What is the most frequent failure part in a typical faucet?
When we consider that 19% of a home’s water usage is from the bathroom and kitchen faucets, consuming as much as 20 gallons of water each day, the faucet is used a lot! As with anything that has that much daily usage, there is bound to be the need for faucet repairs or replacements.
The rubber washers. Every bathroom and kitchen faucet can have multiple rubber washers, and there are two factors that cause them to wear out:
- Usage
- Water
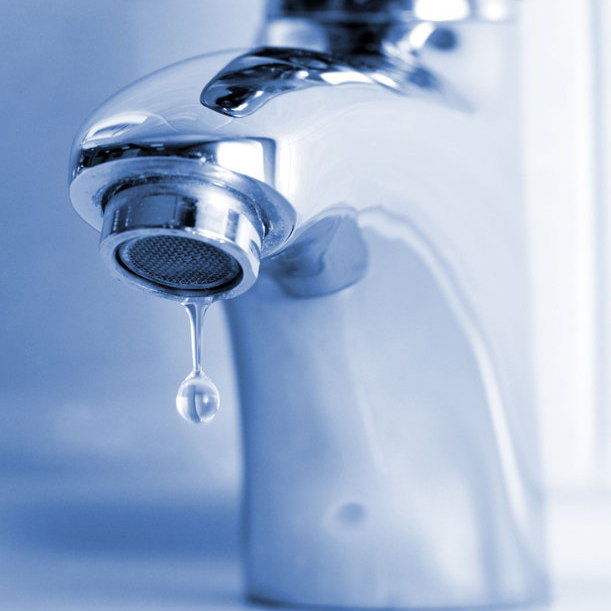
Worn out rubber parts on any faucet will cause it to leak either at the base, under the handle, or under the knobs.
How do you fix a broken faucet?
When the kitchen faucet breaks, it is easy to pick up the telephone and call a plumber. Or you can do your own faucet repair and save that money! You’ll need a few common household tools like Allen wrenches, flat-head screwdriver, needle-nose pliers, and slip-joint pliers. You’ll also need the basic materials that are available at your local home improvement center:
- A faucet repair kit
- Water diverter for hot/cold
- Packing grease
With these tools and materials gathered, follow these steps for a mixer-style water faucet repair:
Turn the Water Off & Remove the Handle
Turn off the water under the sink then turn the faucet on so it can drain any water still inside. Next, put the stoppers in the drains to keep small parts and pieces from falling in.
With your Allen wrench, loosen the faucet handle setscrew and remove the handle. Set the parts out in the order your remove them so you have a line-up how to reassemble.
Remove the Bonnet, Ball and Cam Assembly
Cover the slip-joint pliers teeth with masking tape and remove the bonnet, then remove the ball and cam assembly.
Remove the Springs
Using the needle-nose pliers, remove the springs and packing pieces the clean any buildup and sediment from inside the faucet.
Remove the Diverter and O-Rings
With both hands, grab the spout and move it back and forth until it is loosened, then remove it, the O-rings, and the diverter. Clean any buildup and sediment from the faucet face.
Reassemble
Place the new diverter into position and install the new top O-ring, followed by the others after coating them in the packing grease. The packing grease protects the components of the faucet by protecting them from the high temperature.
Connect the Spout
Press the spout into place, pressing with both hands firmly. If you’ve been considering updating your kitchen, now is the time to install a new spout. With the Allen wrench guiding them, slide the springs and packing pieces in place.
Finish Up
Position the faucet ball into the slot, install the cam and its packing reinstall the bonnet and handle. Now turn on the water and if any leaks, backtrack your steps, usually an o-ring is out of position.
How do you fix a broken faucet stem?
In every home, it is the bathroom faucet that gets used the most, next to the kitchen faucet. That repeated use causes the stem to wear out, then they drip water even with the handles in the “off” position, wasting water and money.
If you can’t afford a plumber right now, the following steps will guide you how to do your own faucet repair by replacing the stems and stop that constant dripping of water and money:
- Turn the water supply off under the sink then turn on both cold & hot water knobs to release any pressure & water left in the faucet & lines.
- Pop the caps off the top of the knobs using a flathead screwdriver. If there isn’t a cap, there should be exposed screws that need to be removed.
- Now pull the faucet handles of. This will expose the stems.
- Loosen the retaining nuts with the pliers if the faucet has cartridge stems. If the faucet has ceramic stems, loosen the mounting nuts. Then pull the stems out of the faucet body.
- If you haven’t already got the replacement stems, take the ones you removed to your local home improvement store or a plumbing supply store to get the correct replacement stems.
- Install the cartridge stems in the faucet body and place new O-rings above the threads on the compression stem bottoms, coated with plumber’s grease.
- Use the retaining nuts to ensure the cartridge stems are securely in place, then install the packing nuts with a clockwise turn of the pliers till tight.
- Install the handles on the faucet stems and tighten the setscrews to secure the handles or install new ones.
- Turn the faucet handles on and turn the water back on under the sink slowly.
Why does my faucet drip after I turn it off?
The working part of a faucet is the valve which is located in the handle. This is what controls the on, off, temperature, and volume. As you use the faucet every day, it wears the valve out and it loses the water-tight seal which allows the water to drip when you have the faucet turned off. Follow the steps we listed above for a DIY faucet repair.
How do you fix a faucet that won’t turn off?
When you turn the faucet off, there are either rubber or plastic components inside that compress across the opening that stops the water flow. When the water is still running after you’ve turned the knob off it is usually the cartridge, stem, or O-rings are worn out. Follow the steps we have listed earlier in this article for faucet repair. If you aren’t able to do this yourself, turn the water off under the sink and call a plumber.
How do I know if my faucet cartridge is bad?
Fortunately, a faucet cartridge will let you know it is getting worn out. Some of the typical indications are:
- Constant water dripping
- Adjusting the temperature
- Hot water coming from the cold water outlet
How long do faucet cartridges last?
The lifespan of a faucet cartridge will be affected by how much it is used. A home with one or two people, the faucet doesn’t see as much use as a household with kids. On the average though, you shouldn’t need a faucet repair to replace the cartridge any sooner than 15 years, maybe even 20 years if it is a high quality faucet.
Can Washerless faucet be repaired?
When we hear the words “washerless” faucet, we automatically think it is free of needing any faucet repairs. Oh, but how we are wrong in that thinking! This simply means there is not there isn’t washer in places where standard faucets have them, but they do have a gasket, an O-ring and other rubber parts that need replacing. So, yes, a washerless faucet could still need faucet repair, and we have provided you steps here to replace those parts.
If faucet repair wasn’t the fix and you’re going to replace your faucet, which faucets have lifetime warranty? First, you need to understand that a Lifetime Warranty will generally cover the end consumer that uses the product in their residence. So, if you sell your house, the warranty doesn’t transfer to the new owner or is you’ve purchased it for a commercial setting, the warranty isn’t included.
The best brands of faucets that will need limited to know faucet repairs are Delta and Moen with lifetime warranty. However, this will require you maintain your faucet with regular cleaning as they instruct in their paperwork. Call (214) 402-5454 for your faucet repair needs in Dallas, TX.